

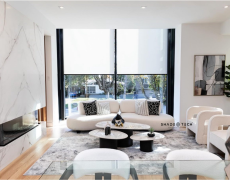
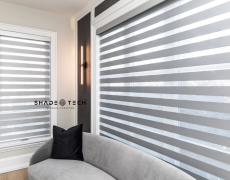
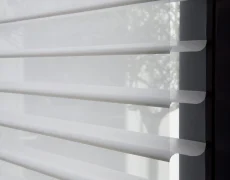
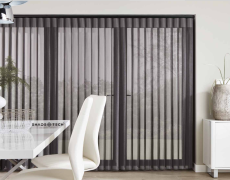

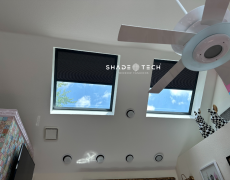


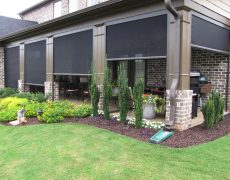

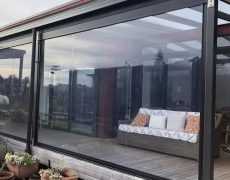



A motorized blind that stops short of the sill, loses its connection after a router update, or lets afternoon glare pour around the edges is not a smart-home upgrade. It is a reminder that smart shading depends on more than choosing a motor and pressing install. This smart blind installation guide explains the decisions that create a system that looks tailored, operates reliably, and earns its place in a Dallas-Fort Worth home.
For large contemporary windows, tall ceilings, west-facing glass, and rooms exposed to North Texas heat, installation is where comfort, design, and technology meet. The right approach begins before fabrication, not after the blinds arrive.
Start With the Window, Not the App
Smart blinds are custom window treatments first and connected devices second. Precise measurements determine whether the shade clears the trim, covers the glass adequately, and rolls evenly. They also determine how well it manages privacy, UV exposure, and heat gain.
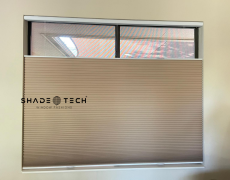
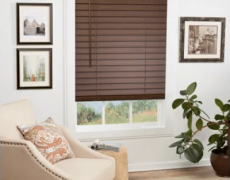
Inside mounts create a clean, architectural appearance because the blind sits within the window opening. They work best when the opening is square, deep enough for the selected product, and free of obstructions such as handles, alarm sensors, or projecting trim. Even a slight variation in depth can affect bracket placement and the finished look.
Outside mounts are often the better performance choice for shallow windows, uneven openings, or rooms where blackout and glare control matter. By extending past the opening, they reduce light gaps and can provide stronger coverage on large glass panels. This is common in media rooms, bedrooms, clinics, and commercial spaces where visual comfort is a daily operational concern.
A professional site visit should also account for ceiling height, trim details, furniture placement, door swing, and how people use the room. A shade that looks excellent in a sample presentation may need a different mounting strategy once the full window wall, patio access, or lighting layout is considered.
Choose Power Before Smart Blind Installation
Power planning is one of the most consequential parts of a smart blind installation. It affects appearance, maintenance, motor options, and long-term convenience. The best choice depends on window access, the number of shades, construction conditions, and how often each window will operate.
Battery-powered motors are a practical solution for many finished homes. They avoid opening walls and can be installed neatly where wiring was not planned. Battery systems are especially useful for a limited number of windows or projects where the shades will be operated a few times per day. The trade-off is periodic charging or battery replacement, with timing influenced by shade size, fabric weight, use frequency, and sun exposure.
Hardwired power is often the premium choice for new construction, remodels, and large installations. It keeps the window area clean and eliminates routine battery maintenance. For a home with many motorized openings, difficult-to-reach windows, or daily automation schedules, prewiring is usually worth the coordination with the builder or electrician.
Solar charging can extend battery life in suitable locations, though it is not a universal answer. It depends on the available light and should be evaluated alongside the fabric, window orientation, and visual requirements. A heavily shaded north-facing window will not behave like a bright south-facing opening.
For builder and contractor projects, power locations should be finalized before drywall whenever possible. That small decision protects the design intent and prevents visible cords, late-stage changes, or unnecessary service access later.
Mounting Is a Precision Step
The brackets that hold a motorized blind carry more load and require more accuracy than those used for a basic manual shade. On wide shades, layered systems, or heavier blackout fabrics, secure attachment to appropriate framing is essential. Mounting into drywall alone is not a professional strategy for a premium automated window treatment.
Installers verify the mounting surface, locate framing where needed, and set brackets level with the correct spacing for the product. If brackets are even slightly out of alignment, the shade may track poorly, create uneven gaps, or place unnecessary stress on the motor and fabric.
Clearance matters just as much. The blind needs room to raise and lower without rubbing against handles, trim, or adjacent treatments. A motorized roller shade may require a different setback than a cellular shade, Venetian blind, or dual-shade system. When combining a shade with drapery, the sequence and depth of each layer should be planned before anything is installed.
At ShadeoTech, local fabrication and installation allow measurements, product specifications, and mounting requirements to stay connected from consultation through final setup. That is particularly valuable for oversized windows and custom architectural openings, where a one-size retail kit rarely delivers the right fit.
Set Limits and Protect the Fabric
After mounting, the motor must be programmed with its upper and lower travel limits. These limits tell the blind exactly where to stop. They protect the treatment from over-rolling, prevent the bottom rail from resting incorrectly, and create consistent alignment when multiple shades share a window wall.
This step deserves more attention than it usually receives. On a wall with three or four shades, inconsistent lower limits are immediately visible. In a bedroom, an improperly set limit can leave a distracting band of morning light. On patio doors, it can interfere with hardware or leave the fabric too low for easy passage.
The installer should run each shade through multiple cycles, verify quiet operation, and confirm that fabric rolls evenly. If the system includes a dual roller, both light-filtering and blackout layers need individual testing. This is also the time to check that remotes, wall controls, and any manual override features are assigned correctly.
Connect the System to the Home You Actually Use
Smart shades should fit the home’s existing technology instead of forcing a separate routine. Depending on the selected system, integration may support Alexa, Google Home, Apple HomeKit, Matter-enabled platforms, dedicated remotes, and wall keypads.
Connection quality begins with the home network. A large home, detached outdoor area, or commercial suite may need deliberate hub placement or stronger wireless coverage near the shades. Motorized treatments are low-bandwidth devices, but unreliable signal paths can still lead to delayed commands or shades that appear offline in an app.
Once connected, group shades by room and name them clearly. “Living Room West Windows” is more useful than “Shade 3.” Logical naming makes voice control easier and helps staff, family members, and guests operate the right treatments without trial and error.
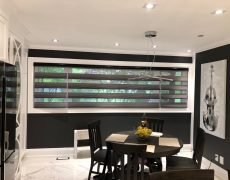
Automation should solve a real comfort problem. In a Dallas living room with strong afternoon exposure, schedule solar shades to lower before the glass heats the room, then raise as the sun moves away. In bedrooms, pair wake-up routines with gradual opening. In restaurants and clinics, timed shading can reduce glare on tables, screens, and reception areas while maintaining a polished exterior appearance.
Avoid building too many automations on day one. Start with the routines used most often, then refine them after a week or two of living with the system. The best smart-home programming feels predictable, not complicated.
Test for Daily Use, Not Just Demonstration Day
Before an installation is considered complete, test the conditions that matter at different times of day. Check privacy at night with interior lights on. Watch for glare during peak sun. Open patio doors, operate window hardware, and make sure the shades respond from the app, remote, and preferred voice platform.
For sun-exposed rooms, assess whether the fabric’s openness factor matches the goal. More open solar fabrics preserve outward views but allow more light through. Tighter weaves improve glare and heat control but reduce visibility. Blackout fabrics provide the greatest room darkening, although edge gaps remain possible depending on mount type and window conditions.
A professionally installed system should be easy to use, but it should also be easy to service. Keep charging equipment accessible for battery-powered shades, document the control groups, and retain the installer’s programming details. If the home network changes, reconnect the hub or bridge promptly rather than assuming every device will recover on its own.
Smart blinds become most valuable when they disappear into the rhythm of the home: lowering before heat builds, protecting finishes from UV exposure, creating privacy at dusk, and responding without a second thought. That outcome starts with exact measurement, thoughtful power planning, and installation calibrated for the way your space is truly lived in.
